Galaxy prints have returned from the past…
and are showing up all over the place in Fall fashion this year! I really like this trend, so I thought I’d make my own galaxy print t-shirt and hoodie, and put together a little DIY here for you to try it yourself!
 So, if you want to make a shirt like the one modeled above, read on…
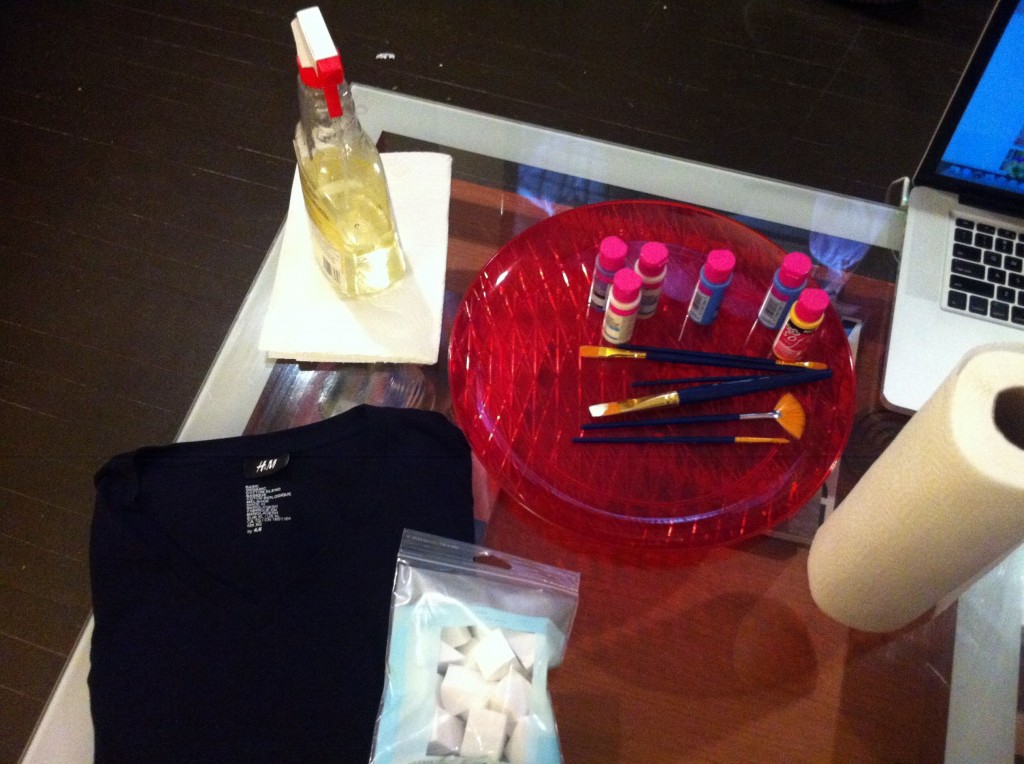
First, you need some simple supplies:
-A blank item of clothing in a dark colour; black, navy or maroon work great. I got some blank tees from H&M for only $6.95.
-Household bleach in a spray bottle.
-Makeup or art sponges. Go to a dollar store for these. Way less expensive than anywhere else.
-Cardboard to put inside the shirt to keep the bleach from bleeding between the front and back of the shirt.
-Fabric paint – the “slick” kind, NOT the 3D or textured kind.
-Paint brushes if you want, or an old toothbrush for spritzing white paint to make stars.
– Rags and/or paper towels for cleanup
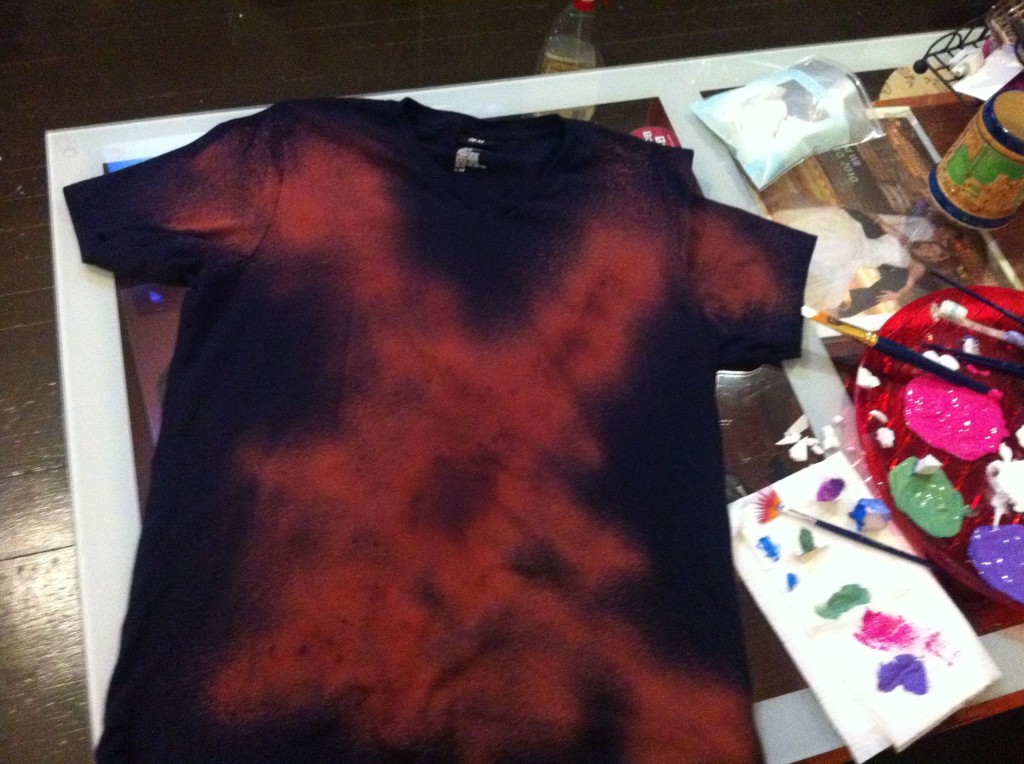
 So, start off by putting cardboard in the shirt to separate the front and back and keep the bleach from bleeding though. Spray just a LITTLE bleach in a random pattern around the shirt, and flip the shirt over to quickly get both sides. The bleach starts acting FAST so you have to be quick! Also, be sparing with the bleach, because too much can actually burn right through the cotton.
Once the bleach has worked enough to give you a nice faded background, quickly rinse the shirt in cold water to deactivate and remove all the bleach. Rinse the shirt thoroughly, and then transfer it to the dryer to dry before moving on to the next step. The photo below shows how the bleaching turned out after the shirt had been rinsed and dried.
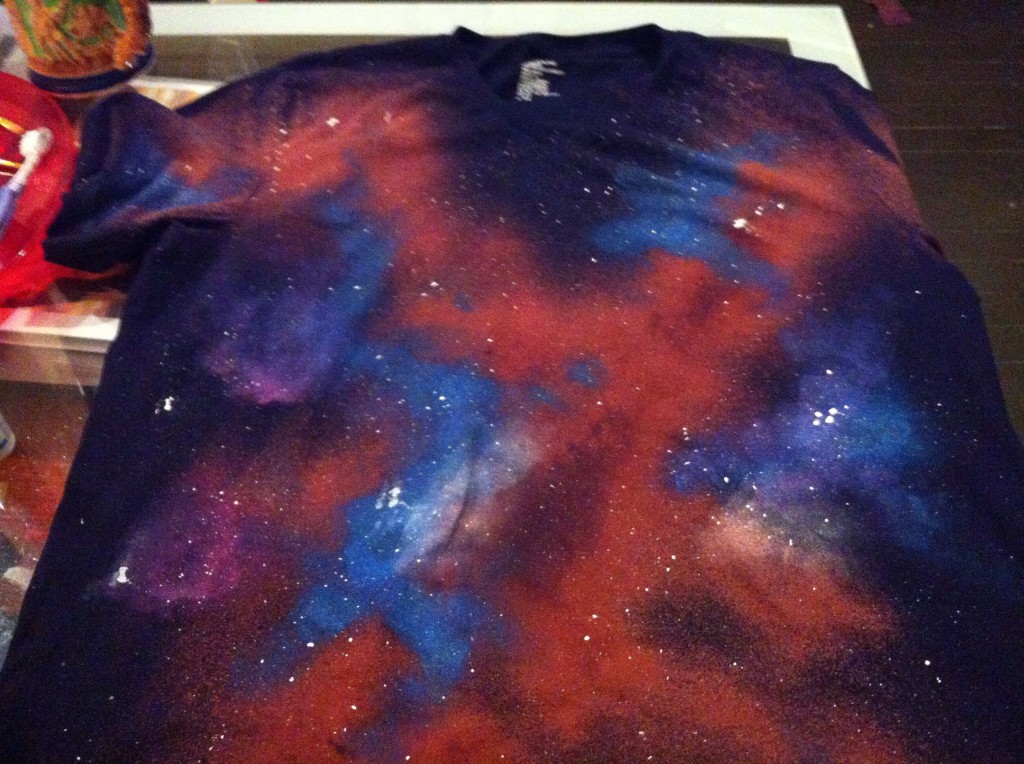
 Next, it’s time to get creative with the paint. I worked with blue, purple, pink and red paint to get the next layer, and I found that working with VERY small amounts of paint at a time gave the best effect. Make sure you blend the paint out really well so that there aren’t any hard edges to keep that outer-spacey look.
Once you’ve got some nice coverage with the coloured paint, and you’re happy with it, you can start adding the stars as your final layer. I found the best way to do this was to dip an old toothbrush in the white paint, and then flick the bristles with your thumb to spray the paint.
 If all goes as planned, your shirt will hopefully turn out something like this! Take you time with the paint, and you’ll get the look just the way you want it.
And then you can take Myspace-y photos to post on the internet like this….
 Hope you enjoyed this post, and maybe will give this project a try yourself!
If you like what’s happening on the Stylebutcher, let me know with a comment, give our Facebook Page a Like or follow on Bloglovin.com.
Thanks!


